TABLE OF CONTENTS
Growing your own marijuana can be a fulfilling hobby. Not only do you get to enjoy the final product, but you can also save money by growing it at home.
However, for new home gardeners, it can seem intimidating at first, despite the gratification it brings. But don't worry, we're here to help! Our weed cultivation guide will walk you through the entire process of growing cannabis, from seedlings to smokeable buds. Whether you have a large outdoor garden or a small indoor space, we've got you covered.
Check Your State’s Legal Status
Before starting your home marijuana growing journey, it's crucial to check with your state laws. Some states permit growing marijuana for personal use, but there are varying limitations on the number of plants allowed in each state.
How Much Does It Cost?
Start-up costs for home marijuana cultivation include purchasing marijuana seeds, plant nutrients, grow lights, basic gardening tools, and other essentials. While some individuals may need to invest thousands of dollars initially, it's possible to start growing weed at home with as little as $200 for those on a tight budget.

ENROLL NOW!
Selecting a Location
For practical reasons and discretion, many new growers prefer indoor marijuana cultivation. Both indoor and outdoor environments have their advantages and disadvantages.
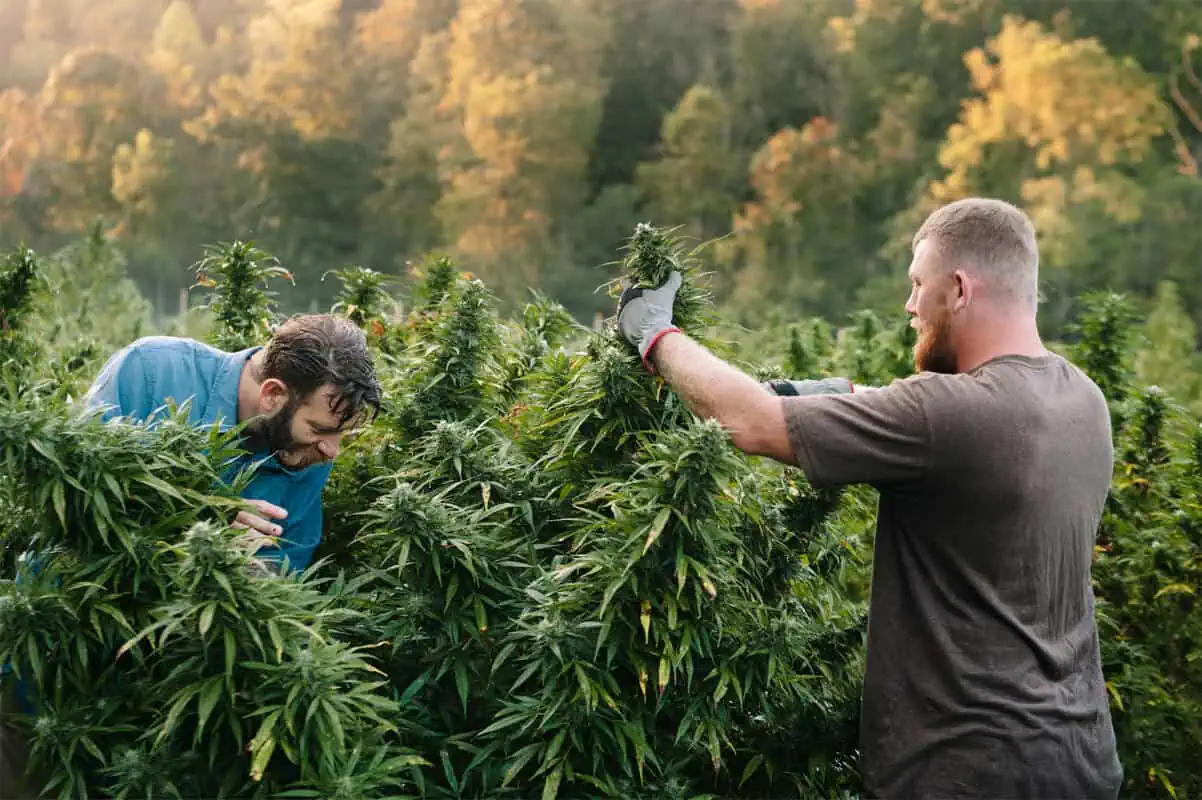
Outdoor Growing
Even though nature provides soil, light, and water, growing cannabis outdoors presents challenges. You must consider various factors and your geographical location to achieve optimal results. Residents in equatorial, Mediterranean, and temperate climates with distinct spring and summer seasons may find outdoor cultivation difficult.
However, growing cannabis outdoors can be a rewarding experience for many people. It becomes easier with ample space, a suitable climate, and the right environment. More space typically results in larger yields. You can simply observe your cannabis plants grow and provide them with care, such as occasional trimming, along the way.
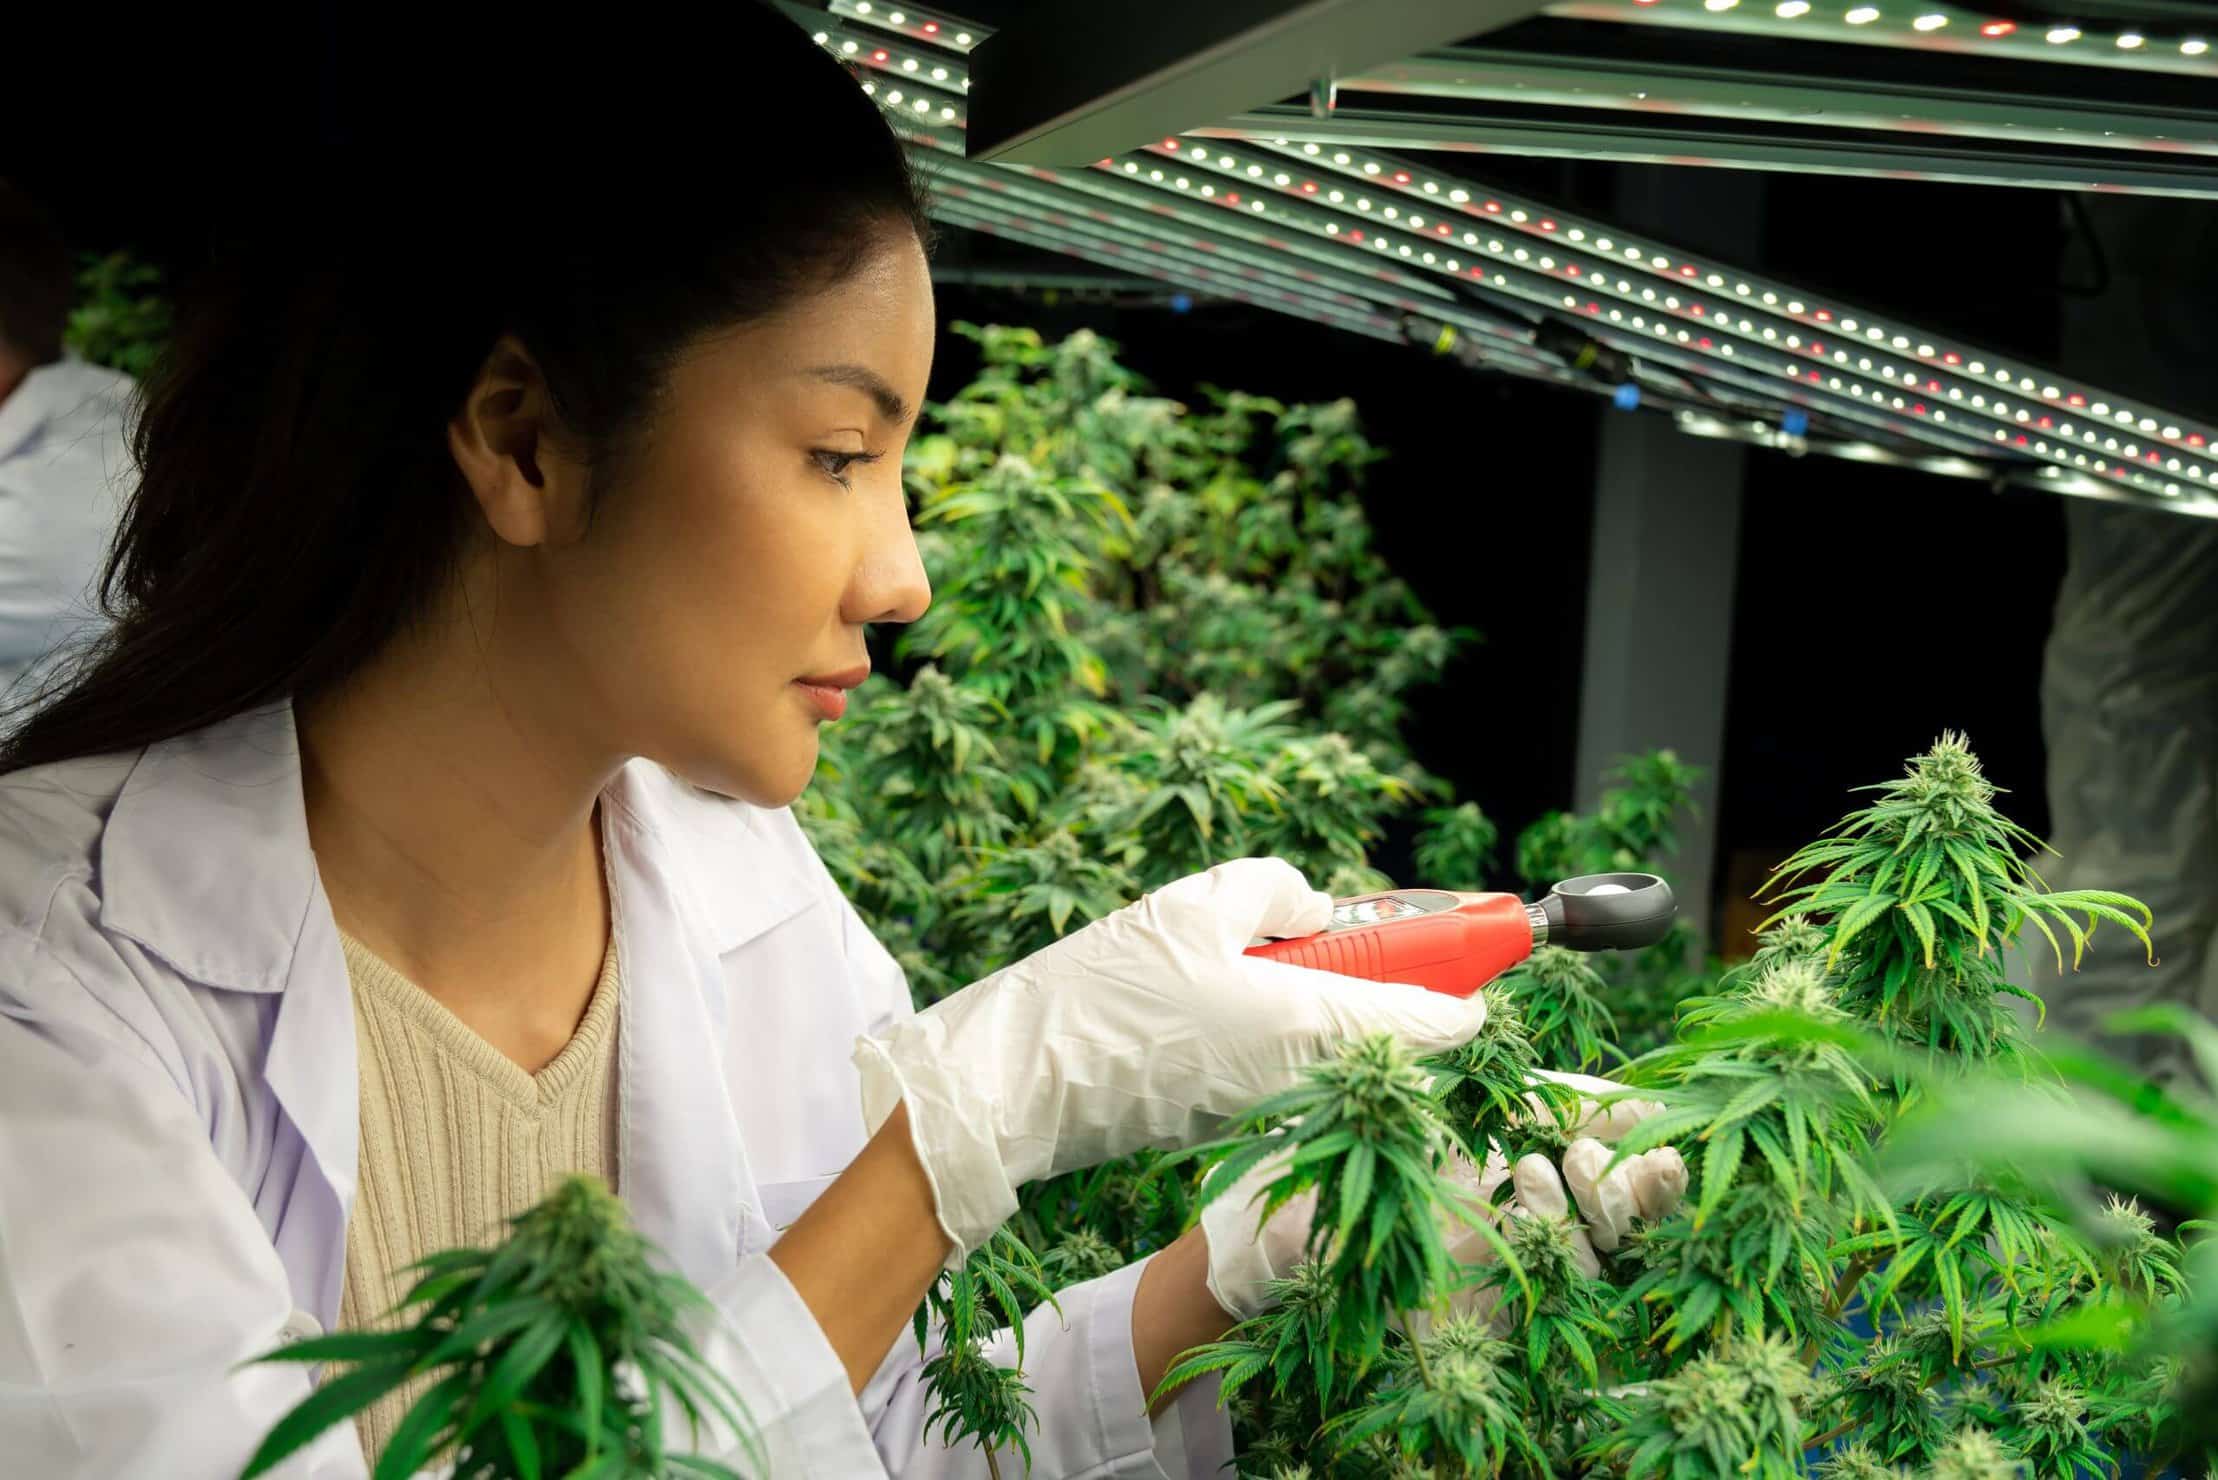
Indoor Growing
For beginners, growing weed indoors is ideal because it allows control over variables. Indoor growing serves as a good alternative if your area lacks a well-defined, optimal growing season.
Indoor cannabis cultivation can be straightforward. You'll need soil or coco coir mixed with organic nutrients, 400-600 watt lights, pots, and a grow tent.
Learn more about the indoor weed cultivation guide.
Weed Cultivation Guide: How to Grow Marijuana from Seeds
To grow marijuana from seed, you need to follow a few steps. You'll need to guide your cannabis plants through all stages of growth until you're ready to harvest them.
Step 1: Germinate
The first stage of the cannabis plant's growth process is germination. Spray two to four kitchen towels or paper towels with water until they're damp but not soaked. Place a seed between the damp paper towels on a plate and wait for a taproot to appear. Keep the room temperature between 70-90°F.
Step 2: The Seedling Stage
After the germination phase, you can move on to the seedling stage. Transfer the germinated seeds to a pot of soil or any other growth medium you choose. Seedlings will start to produce two leaves, which open outward from the stem and begin receiving sunlight.
As the seedlings grow, you'll start to see a miniature cannabis plant. Keep the seedlings between 77°F and 60% humidity. Cannabis prefers to have 18 hours of white lighting per day once the leaves appear. At this stage, use a fertilizer rich in nitrogen.
Step 3: Vegetative Stage
Once your seedling has matured, you'll need to transfer it into a larger pot. When the plant's roots start to outgrow the pot, it's time for this step. Cannabis plants grow rapidly during the vegetative stage, absorbing more nutrients and CO2.
During this stage, you can perform important checks to determine the gender of the plant. Female plants will develop two white pistils, while male plants produce pollen sacs. Remove male plants if you spot sacs before they pollinate the females to avoid ruining your harvest.
Here are some things to remember during the vegetative phase:
- Maintain temperature between 68-77°F and humidity between 50-70%.
- Provide 18 hours of daylight and 6 hours of darkness.
- Use a light of around 125 Watts.
- Cannabis ruderalis moves directly to the next phase (flowering) after this.
- Use more nitrogen than phosphorus and potassium for fertilization.
Step 4: Flowering Stage
Transfer the plant to a larger container. It requires 12 hours of light and 12 hours of darkness. Indicas typically flower in 6-9 weeks, while Sativas take 10-14 weeks. Most growers prefer a maximum of 14 weeks of blooming. Light leaks are crucial during the darkest times of the flowering phase. Even in feminized plants, light leaks can stress the plant and cause it to produce both male and female organs.
During the flowering phase, remember to:
- Maintain the temperature between 68 and 77°F with humidity around 50%.
- Stop giving nitrogen (N) to the plants, but increase the intake of potassium (K) and phosphorus.
- After the plant has finished flowering, flush the soil using distilled water. Do not add any additional nutrients.
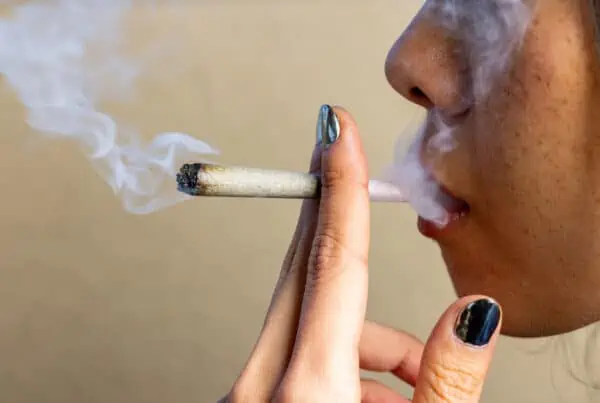
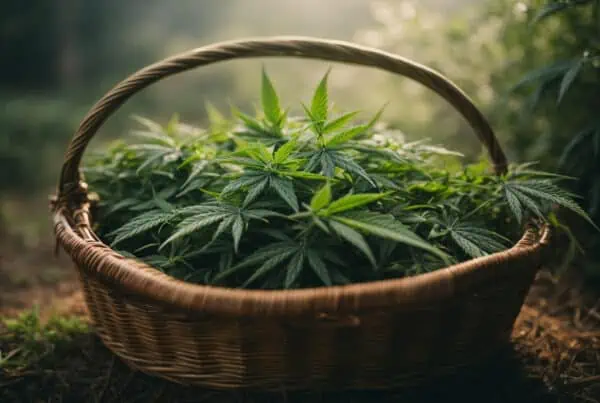
Step 5: Harvesting
When your plant has matured, it's time to chop and dry it. But knowing the right time to chop your plant is crucial. Some suggest cutting the plants when 70-90% of the pistils are browned.
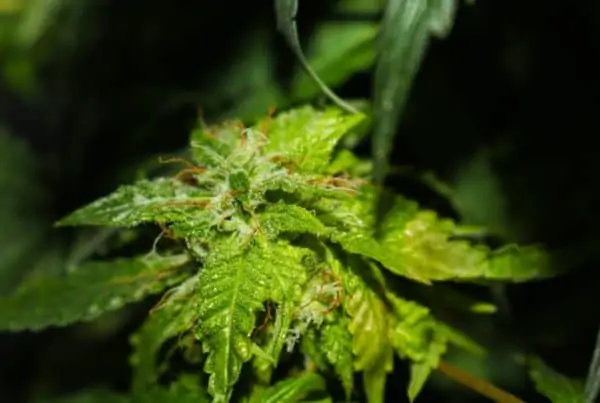
Another method is to observe the color change of the trichomes, starting from white to amber, and finally brown. Many believe the best time to harvest is when around 50% of the trichomes turn amber. Harvesting too early, when trichomes are clear, may result in a more energetic impact. On the other hand, waiting too long until trichomes turn too brown can lead to a loss of potency in cannabinoids, though some may prefer a slightly less psychoactive effect.
Step 6: Drying
Your cannabis plants should be dried in a dry room away from the sun for 7-14 days. When the stem of your cannabis plant snaps, it's ready to be chopped into smaller buds and jarred. Proper drying is crucial to prevent mold or mildew from developing on your cannabis.
“
There are over 300,000 jobs in the cannabis industry. CTU trained me for one of them!
 - Johanna Rose
Makes $24.50 @ THC +
Step 7: Curing
After chopping, pruning, and drying, your cannabis is still usable but not at its best. Place it in a mason jar with an airtight lid, filling it no more than 3/4 full. Leave the cannabis in the jar for up to a month. Open the jar every day to allow the cannabis to breathe. This process breaks down sugars and chlorophyll, resulting in a more defined effect.
Step 8: Storing
To maintain the freshness of your harvest, proper storage of your cannabis is essential. The best containers for storing cannabis are airtight ones, kept in cool, dark places. Avoid exposing your cannabis to excessive light, heat, or moisture, as these elements can degrade its potency and freshness.

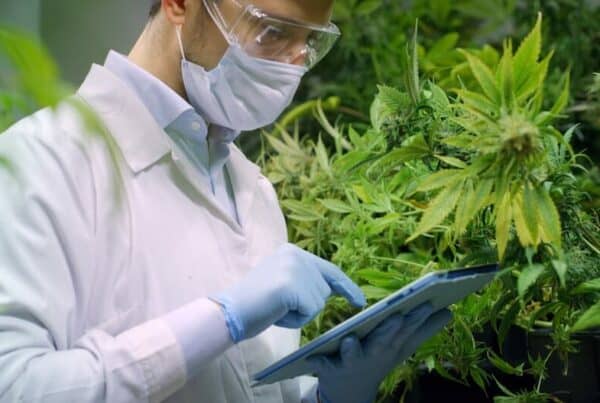
Growing Tips and Tricks
You can employ various strategies to help your cannabis plant thrive, and you can even revive a dying cannabis plant. Here are some tips for growing cannabis to achieve the best yield:
- Choose the best strain by conducting thorough research.
- Monitor daily weather conditions, paying close attention to light and temperature.
- Ensure regular watering for your plants.
- Familiarize yourself with the life cycle and characteristics of the cannabis plant.
- Harvest your plants at the optimal time for best results.
Ready to Cultivate Your Green Thumb with Expert Cannabis Training?
Are you excited to start growing your own cannabis? This weed cultivation guide offers valuable insights for newcomers. But don't stop there! For more in-depth cannabis training, visit Cannabis Training University‘s website. Elevate your knowledge and skills with our specialized courses and expert guidance. Start your cultivation journey confidently—explore Cannabis Training University now!


 Jeff was involved in an accident where he endured a traumatic brain injury. He had a week-long stay in ICU where brain surgeons
  100% risk free money back guarantee within 48 hours after purchase if student has not completed any of the courses or exams.