TABLE OF CONTENTS
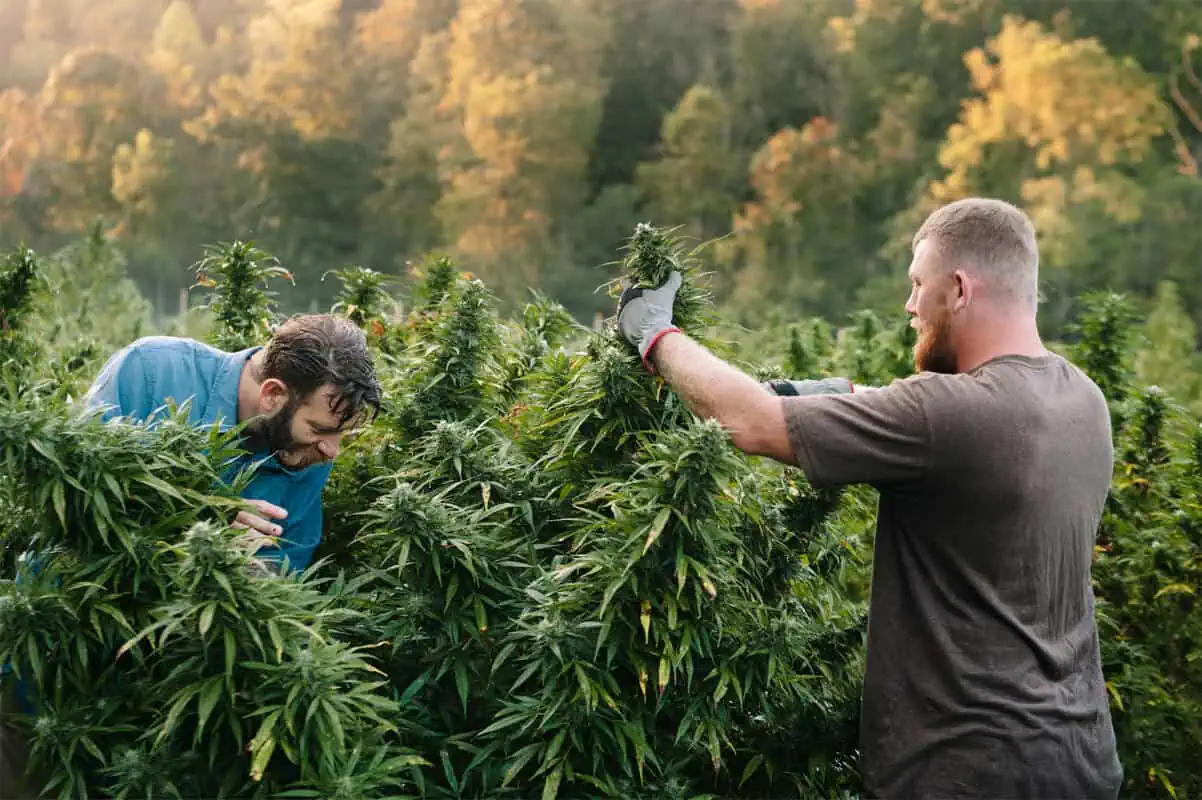
Harvesting cannabis buds is one of the most exciting activities of the growing season, but your work is not quite done after cutting down your buds.
After harvest, most growers perform a drying and curing process to reduce moisture levels and improve bud flavor and aroma.
Learning how to dry your weed effectively is the final leg of the race you need to complete to produce resinous and flavorful buds. Like with any other process, practice makes perfect. You may not get it right on the first try, but our drying guide can help you get as close as you can.
Dry Trim vs. Wet Trim
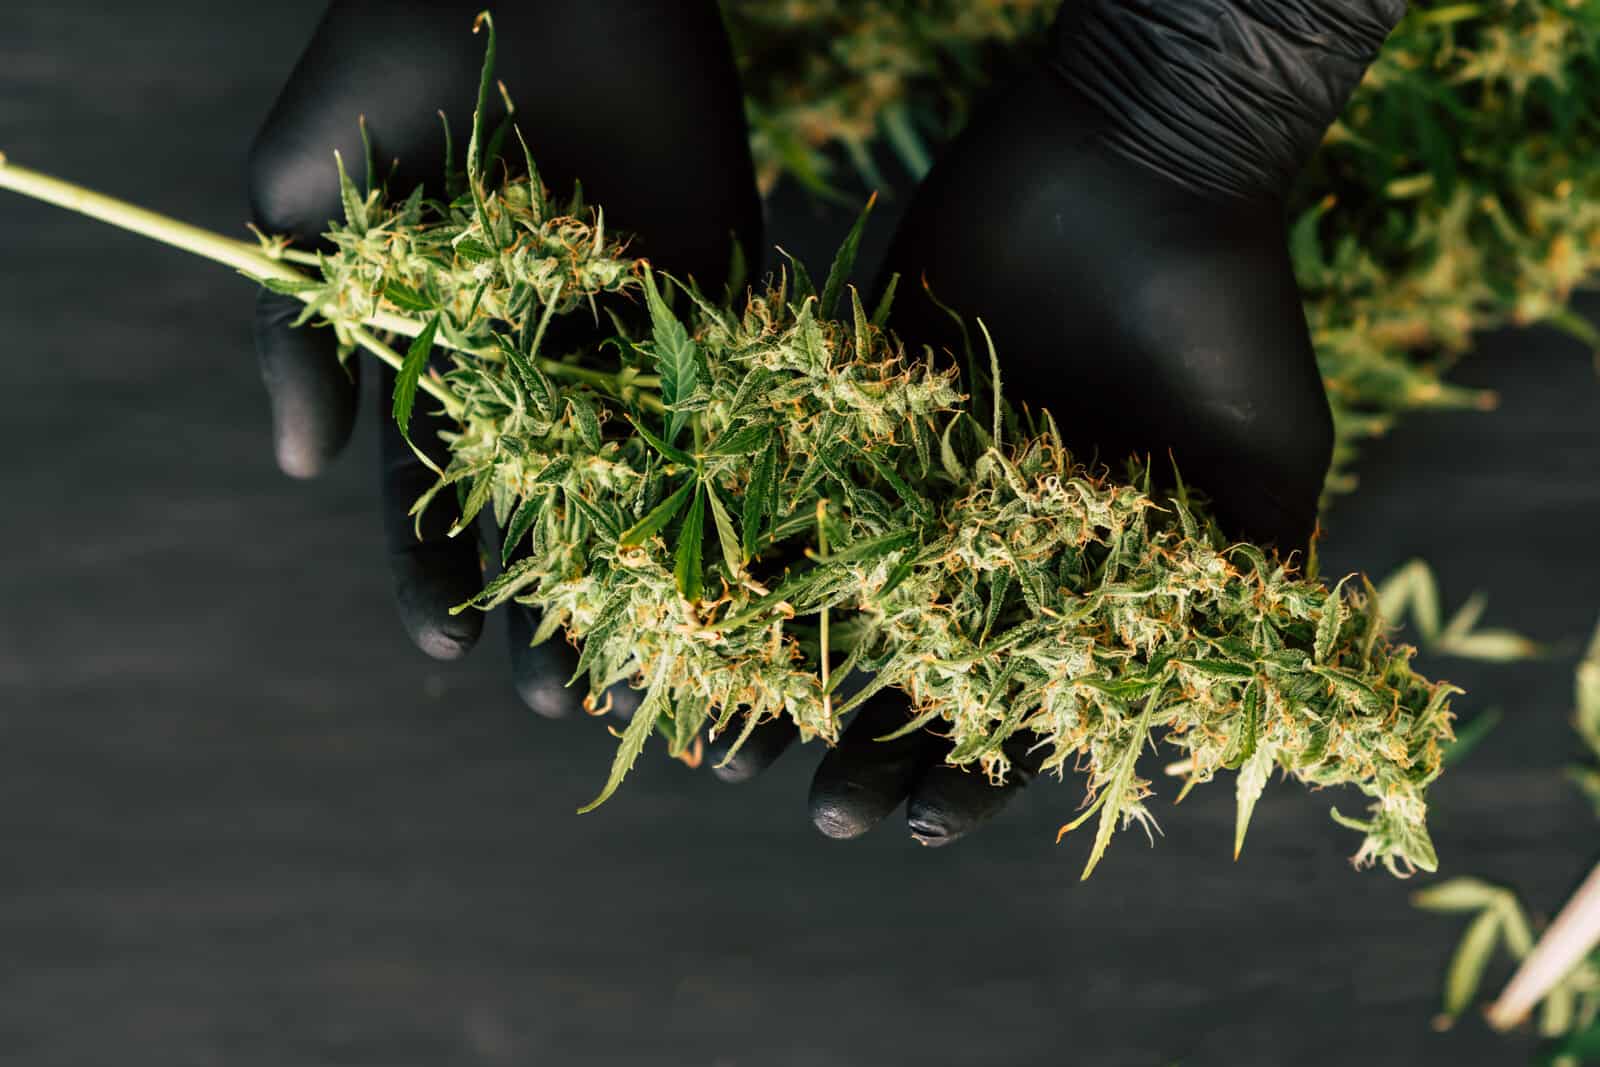
Before you can begin the cannabis drying process, you must trim your cannabis buds from the plant. Gloves are essential to facilitate working with the adhesive flowers. Growers can choose to either perform wet or dry trimming.
Wet Trimming
Wet trimming cannabis occurs when you immediately begin to trim your plants when the buds are ripe and remove leaves and buds from the branches. It is relatively easy and can reduce the risk of developing mold.
Dry Trimming
Dry trimming is the connoisseur’s method of trimming due to the improved flavor of the end product. The branches may be a bit more difficult to trim, but the process preserves the best aroma and taste.
Growers can choose to both wet and dry trim depending on their preference, growing conditions, or strain. Some growers choose to remove some fan leaves after trimming but leave the buds on the branch to dry.
What Does Drying Cannabis Mean?
The drying process happens after harvest and involves hanging freshly cut cannabis branches or laying them down over a screen to dry.
In a climate-controlled space, the excess moisture of cannabis plants evaporates, allowing its flavor and aroma to shine through.
Why Is Drying Cannabis Important?
How you perform the drying process directly correlates with the quality of your dried marijuana buds.
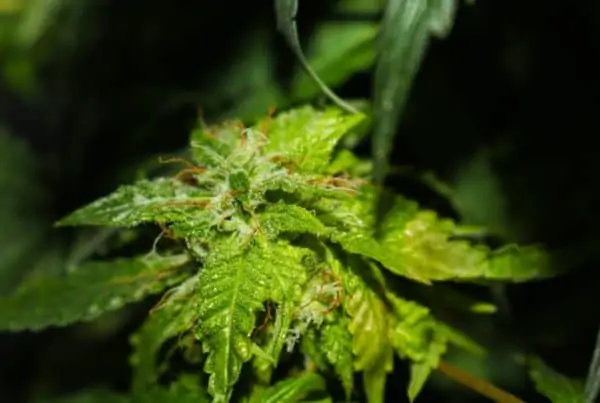
Improperly dried buds can develop mold and mildew, which is harmful to consume, producing a harsh flavor and smoke due to the high chlorophyll content. Proper drying of the plant gives you the best flavor, aroma, and potency.
Speeding through the drying process or letting the plants dry for too long can be detrimental to the bud quality. Under-drying increases the risk of mold. Overdrying can produce a crumbly and brittle flower.
What Do You Need to Dry Cannabis?
Drying cannabis buds is affordable and straightforward.
Here is what you need to dry cannabis:
- Climate-controlled drying room/space
- Drying rack or drying hanger
- Exhaust venting and intake fan
- Airtight containers to store bud
- Hygrometer to monitor temperature and humidity
- Circulating fan (optional)
- Humidifier or dehumidifier (optional)
What Is the Perfect Drying Environment?
For optimal cannabis drying, dry your flowers in a clean and sanitized space. Sunlight or artificial light can speed up the evaporation of the plant’s essential oils. Drying room environments vary based on the climate in the area.
Ensure your drying room maintains the right temperature and relative humidity (RH):
- Temperature – 65º to 75º F (18º to 24º C)
- RH% – 0 to 55%
Cannabis drying rooms must be properly ventilated. Ensure your space has a regular supply of fresh air coming in to replace the stale air. As plants dry, you may need to use various odor control strategies to manage the smell of the evaporated terpenes.
How to Dry Your Weed
Drying weed is a slow and methodical process that ages your buds like a fine wine. The process can take between 10 and 14 days. Begin by separating your buds on a well-aerated surface. Avoid placing them on moisture-retaining materials such as paper.
Ideally, place your buds in a pitch-dark room or as close as you can to one. Give your buds enough room to completely dry by spreading them out over your chosen area. Cramped buds can increase the chance of developing mold.
Buds that are raised up can dry better than ones placed on a flat surface. Room temperatures should be between 65º and 75º F. A room’s relative humidity (RH) should be about 0 to 55%. Cut your branches between 12 to 16 inches long and hang them from a sturdy string or wire.
Growers can use dehumidifiers, heaters, and other temperature control equipment to compensate for environmental factors. Hot and dry climates won’t require as much equipment compared to cooler climates where drying can take longer.
Drying isn’t a set-it-and-forget-it task. Check your flowers regularly for mold and dryness. Some growers opt for the “snap” test to determine the perfect level of dryness. Branches that bend under your fingertips are dry enough. A sharp snap of the branch, however, is a good sign.
Testing the pliability of the branch is a good indicator of the water content inside the branch. Some branches may take longer than others to dry depending on the bud size and branch length size. When the bud is dry enough, cut the buds from the stem.
How to Store Dried Cannabis Buds: The Curing Process
After drying cannabis, growers must perform a curing process. Usually, this involves placing their properly dried buds in an airtight container to cure over a few weeks or months. Wide mouth mason jars make great containers to cure your buds. Curing cannabis should occur in a cool and dark space with a relative humidity of 55 to 65%.
Cannabis buds should be “burped” a few times per day for about 20 minutes. When burping cannabis, you open the containers to allow fresh air to replace the stale air. Check your buds for mold. Curing can take as little as two weeks or as long as six months, depending on the plant’s genetics and your individual preference.
Cannabis Growing Certification
Perfecting the drying and curing process takes time and patience, especially if you’re a beginner. Paying close attention to your plant from the moment it’s planted to the moment you consume it is crucial to producing high-quality flowers.
Sign up for CTU’s online cannabis cultivation training to learn tips and tricks from the biggest names in the cannabis cultivation field. Our online cannabis college gives you the fundamentals to take your cannabis grow and career to the next level.
Can You Dehydrate Cannabis to Dry it?
Yes, you can dehydrate cannabis to dry it. But adding heat will degrade your cannabis.
How do you know if your buds are dry enough?
Gently squeeze a bud between your thumb and forefinger. If it feels spongy or too moist, it's not dry enough. It should feel somewhat dry on the outside but still have a bit of give when squeezed.
Is dry weed better than wet?
Generally dry weed is better. Drying cannabis helps preserve its terpenes and cannabinoids.
What is the importance of properly drying cannabis?
Cannabis must be dried properly for numerous reasons. It keeps mold and germs away, retains cannabis strength and terpenes, and increases smoking quality. Drying starts decarboxylation, which activates cannabis' psychotropic THC.
How long should cannabis be dried?
Cannabis usually takes 7-10 days to dry, depending on humidity and temperature. Slowly drying the weed ensures equal drying. Buds are ready when stems break rather than bend and the outside feels dry.
What is the ideal temperature and humidity for drying cannabis?
Cannabis should be dried at 60-70°F (15-21°C) with 45-55% humidity. Terpene loss and mold/mildew growth can be prevented by maintaining these conditions.
Should I trim my cannabis before or after drying?
The choice between wet and dry trimming depends on personal preference and climatic conditions. If the climate is dry, dry trimming can hinder drying. Wet trimming is easier and faster.
How do I know when my cannabis is properly dried?
When stems snap rather than bend and buds feel dry but not brittle, cannabis is dried. The bud's skin should be crisp and the inner sticky.
“
There are over 300,000 jobs in the cannabis industry. CTU trained me for one of them!
 - Johanna Rose
Makes $24.50 @ THC +
Can I speed up the drying process?
Dehumidifiers and air circulation can speed up drying, but they're not suggested. Rushing drying can cause uneven drying, potency loss, harsh smoke, and cannabis quality issues.
What is the best way to dry cannabis?
In a controlled atmosphere, hanging clipped cannabis branches upside down is optimal for drying. Maintain temperature, humidity, and airflow. Cannabinoids and terpenes deteriorate under light, so keep the drying chamber dark.
Can I use a fan or dehumidifier while drying cannabis?
Fans promote airflow, and dehumidifiers reduce humidity. Avoid pointing fans at drying cannabis to avoid uneven drying. Dehumidifiers should maintain optimal humidity.
Does the size of the buds affect the drying time?
Larger, denser buds may dry slower. You must monitor each size and dry each bud separately.
How should dried cannabis be stored?
After drying, cannabis should be stored in airtight glass jars in a cool, dark environment. Maximizing flavor, potency, and quality requires proper curing after drying. Watch for mold and mildew during storage.

Luis Cordova
Luis Cordova is a distinguished author, and renowned expert in cannabis cultivation, who possesses a Master's degree in Plant Biotechnology and Pharmaceutical Science. As a valued contributor to highly esteemed publications such as Cannabis Training University and Maximum Yield Magazine, Luis has emerged as a trusted source of guidance and knowledge in the cannabis industry. Having written thousands of informative articles, Luis is widely recognized for his comprehensive expertise on cultivating cannabis, both indoors and outdoors.


 Jeff was involved in an accident where he endured a traumatic brain injury. He had a week-long stay in ICU where brain surgeons
  100% risk free money back guarantee within 48 hours after purchase if student has not completed any of the courses or exams.