Introduction to Outdoor Cannabis
Growing cannabis outdoors is a game-changer for many cultivators, offering a connection to nature and the chance to produce truly exceptional buds.
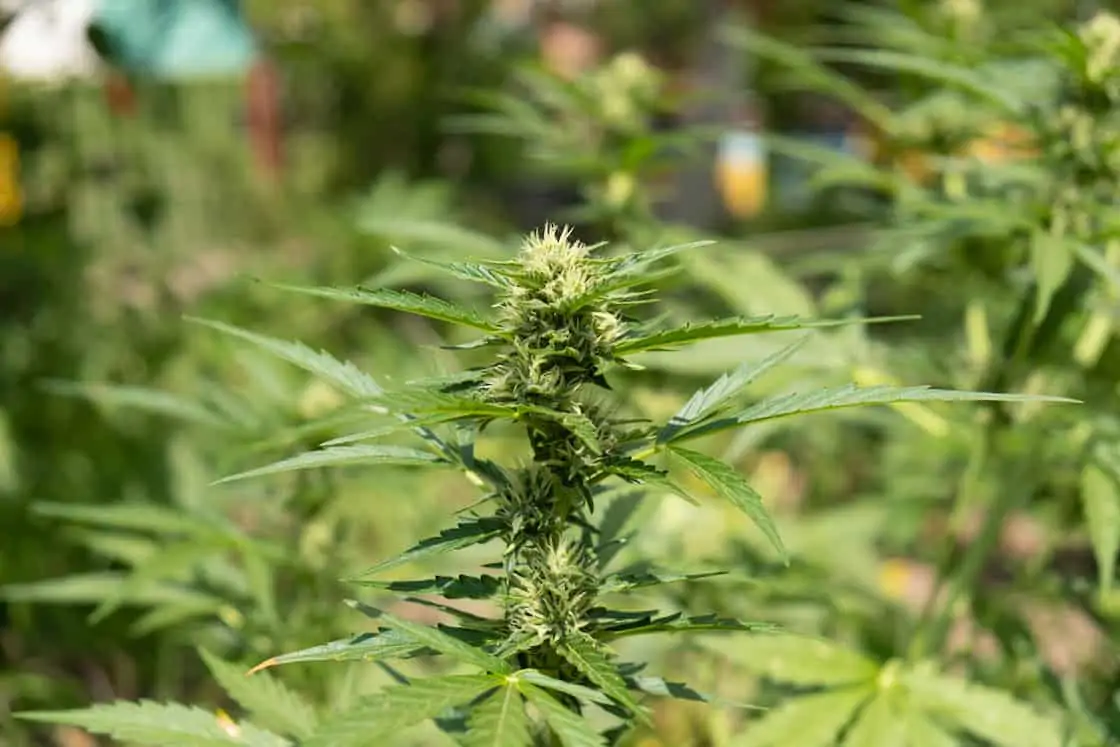
Outdoor cannabis plants benefit from the full spectrum of natural sunlight, which can lead to more vigorous growth, richer aromas, and higher yields compared to indoor setups.
With outdoor cannabis cultivation, you’re harnessing the power of the environment—letting your plants soak up the sun, breathe fresh air, and develop unique characteristics that are hard to replicate indoors.
For both beginners and seasoned growers, understanding the basics of growing cannabis outdoors is essential. Key factors like climate, soil quality, watering routines, and pest management all play a role in the success of your outdoor cannabis plants.
When you master these elements, you set yourself up for a bountiful harvest of potent, flavorful buds.
Outdoor weed growers who pay attention to these details often find that their cannabis not only looks and smells better, but also delivers a more satisfying experience come harvest time.
Whether you’re growing a few plants in your backyard or managing a larger outdoor cannabis garden, the rewards of outdoor cannabis cultivation are well worth the effort.
Why Growing Weed Outdoors Changed Everything for Me
When I started growing, I was intimidated by the idea of outdoor cultivation. Indoors felt safe, controlled lights, controlled air, controlled everything. Cannabis grown indoors allows for precise control over temperature, humidity, and light, but it requires equipment like grow lights and fans.
But when I finally took my grow outside, it was a revelation. Choosing to grow cannabis outdoors provides natural sunlight, fresh air, and can result in higher yields and better flavor compared to indoor cultivation.
The sun is the best grow light on earth, the soil is alive in a way no bottled nutrient can replicate, and the plants themselves seem happier when they’re under open skies.
Of course, I also learned quickly that outdoor growing is full of curveballs. My first attempt was a disaster: caterpillars chewed through my fan leaves, a summer storm snapped two of my best branches, and my harvest cured into a musty mess because I rushed it.
But each mistake became a lesson. Growing marijuana is a lot like growing vegetables—both require attention to soil, watering, and general plant care, and many of the same gardening techniques apply. Over time, I figured out not just how to make outdoor growing work, but how to make it thrive.
What follows is my most complete guide yet — years of trial and error distilled into a single, honest playbook.
If you’re serious about outdoor cultivation, this will save you the painful mistakes and get you to that moment when you hold a jar of your own perfectly cured marijuana buds and think, “I grew this.”
Step 1: Picking the Perfect Location

Every outdoor grow succeeds or fails based on the spot you choose. I’ve tried them all — backyard plots, containers on a patio, even guerrilla grows tucked into the woods, and of course, growing cannabis in a yard is one of the most common and effective options.
Some spots produced fat, healthy plants, others left me with disappointment when I tried to grow cannabis in less ideal locations.
The factors I now consider non-negotiable:
Sunlight: Cannabis is a sun-lover. I aim for at least 8 hours of direct light a day during the peak of summer. Anything less and yields suffer. South-facing exposure is ideal.
Drainage: Cannabis hates “wet feet.” I lost plants early on because the soil stayed soggy after heavy rains. If the ground doesn’t drain well, I dig out a wider hole, fill with well-aerated soil mix, and mound it slightly so water runs off.
Privacy: Depending on where you live, discretion matters. Neighbors can be nosy, thieves can be bold, and even in legal states you don’t want your crop visible from the street. Fencing, companion planting (like tall corn or sunflowers), and natural cover go a long way.
Accessibility: One of my rookie mistakes was planting in a “secret” spot that was nearly a 20-minute walk from water. Carrying buckets in August heat is a nightmare. Your grow should be accessible enough that you can water, prune, and check daily without dread.
Step 2: Choosing the Right Strain for Outdoors
Strain selection is critical. Indoors, you can manipulate almost any strain to finish. Outdoors, you’re at the mercy of climate, pests, and daylight cycles. Marijuana plants have specific growth requirements and environmental needs, so choosing the right strain for your outdoor conditions is essential.
Key considerations:
- Climate match: Sativa-dominant strains thrive in hot, dry regions. Indica-dominant strains do better in cooler climates with shorter summers.
- Flowering time: If frost comes early in your area, avoid strains with long flowering times. Choose hybrids that finish in 7–9 weeks.
- Mold resistance: In humid regions, mold is the number one killer of outdoor grows. Strains like Durban Poison and Critical are known for resistance.
- Height: Some strains stretch to 12 feet outdoors. That’s impressive, but not always practical for stealth. Bushier indicas or autoflowers may be better if privacy is key.
- Plants grown outdoors: The characteristics of plants grown outdoors can differ from those grown indoors, including size, yield, and resilience to environmental factors.
Strains I’ve personally had success with outdoors:
- Durban Poison — reliable, tough, pest-resistant.
- Blue Dream — vigorous growth, great yield.
- Critical Mass — heavy producer but needs airflow.
- Northern Lights — compact, mold-resistant, fast.
- Maui Wowie — perfect if you live in warm coastal zones.
Understanding the Growing Season
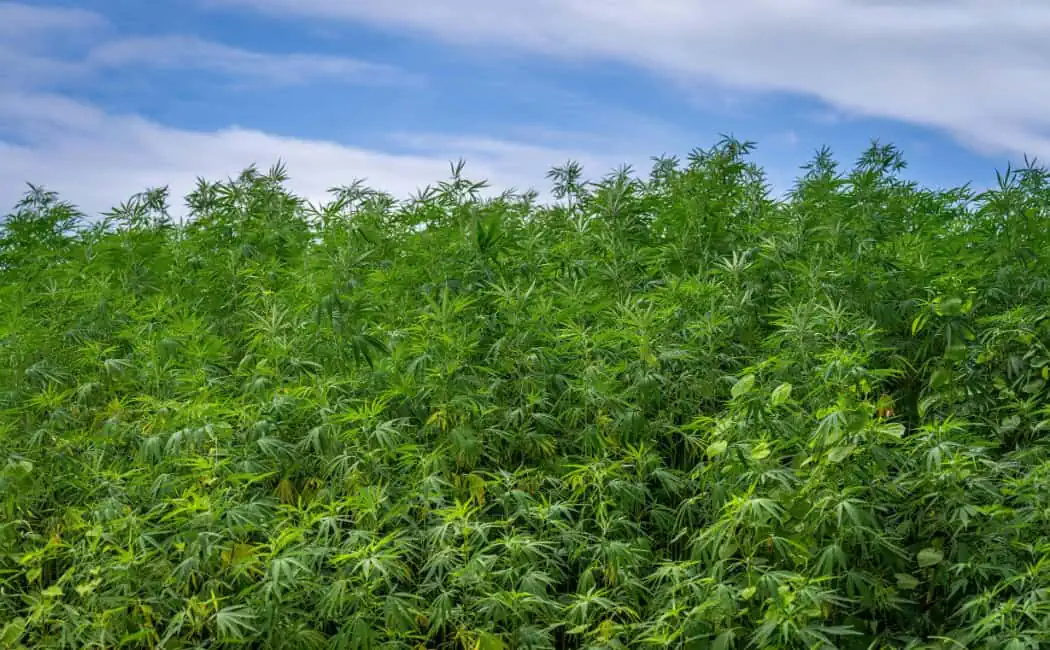
The growing season is the heartbeat of outdoor cannabis cultivation. In the Northern Hemisphere, the ideal window for growing cannabis outdoors typically starts in late spring, once the last threat of frost has passed—usually around late April or early May.
This is when cannabis plants can safely be moved outdoors to soak up the direct sunlight they crave. Throughout the growing season, which stretches into early fall, your plants will need at least 12 hours of sunlight each day to fuel healthy growth and maximize bud production.
As the season progresses, your cannabis plants will demand more nutrients, water, and attention to pruning. Each stage of growth—from seedling to vegetative to flowering—brings its own set of needs.
Understanding your local climate, soil conditions, and any regional regulations is crucial for a successful outdoor cannabis harvest.
By syncing your efforts with the natural rhythm of the growing season, you’ll help your plants thrive and set yourself up for a rewarding harvest when fall arrives.
The Importance of Timing in Cannabis Cultivation
When it comes to cannabis cultivation, timing can make or break your outdoor grow. Every stage—from starting plants indoors to transplanting them outside, to harvesting at just the right moment—affects the quality and yield of your buds.
In regions with shorter growing seasons, many growers give their cannabis a head start by starting plants indoors about 4–6 weeks before the last expected frost. This early start allows young plants to develop strong roots and true leaves before facing the elements.
Transplanting outdoors should only happen once the soil has warmed up and all risk of frost is gone. Rushing this step can stunt growth or even kill your plants.
As summer progresses, keep a close eye on your cannabis plants’ life cycle, especially as they transition from vegetative growth to flowering.
Harvesting is usually done in late summer or early fall, when the buds are fully mature and packed with potency. By carefully timing each phase, planting, transplanting, and harvesting, you’ll ensure your cannabis plants reach their full potential and reward you with a bountiful, high-quality harvest.
Step 3: Preparing the Soil
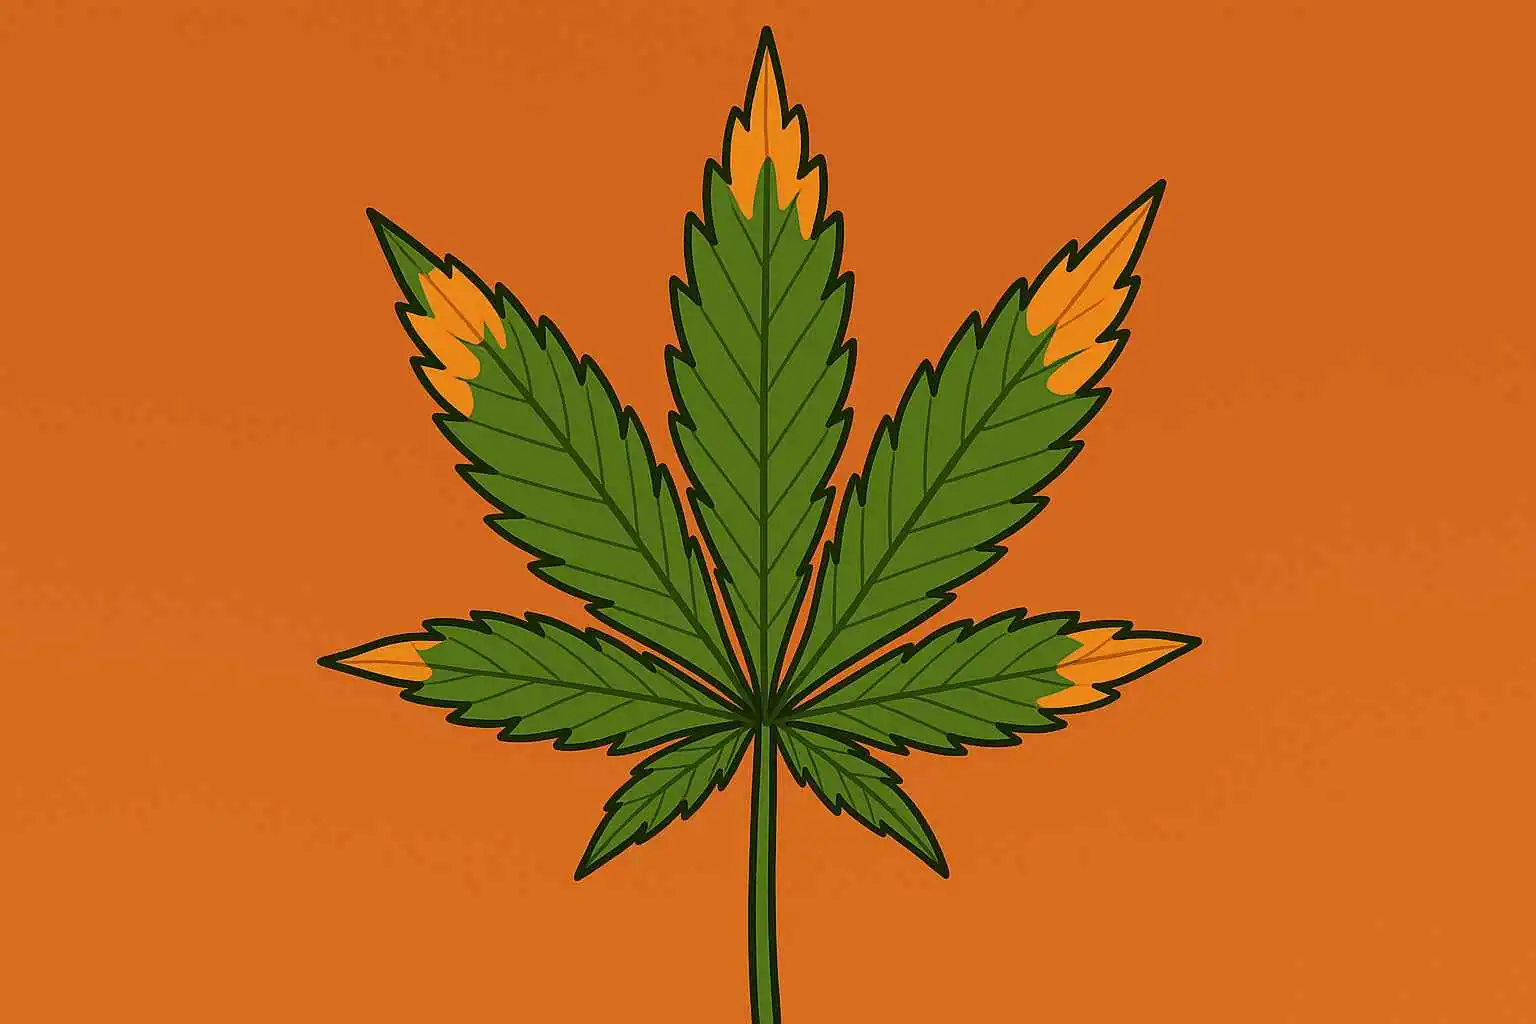
Soil is the foundation of everything. Early on, I underestimated this. I thought “dirt is dirt” and threw seeds into the ground. The plants grew, but they looked sickly, with yellow leaves and stunted growth.
Now I treat soil like a living ecosystem. The more balanced and alive the soil, the less bottled fertilizer I need. When preparing soil for use in a pot, I make sure it has good drainage and supports healthy root development, which is crucial for container-grown cannabis.
My go-to outdoor soil mix:
- 40% high-quality organic potting soil
- 20% perlite for aeration
- 20% homemade compost or store-bought worm castings
- 10% aged manure or bat guano for slow-release nutrients
- 10% peat moss or coco coir for water retention
I also top-dress with organic amendments like kelp meal, bone meal, or fish emulsion during the season. Applying a thin layer of mulch on top helps protect plant roots from heat and reduces moisture loss, especially important when growing in pots.
pH testing is essential. If your soil isn’t in the 6.0–7.0 range, nutrient lockout happens. I use the AC Infinity Hydroponic Meter PRO Kit because it measures pH, EC, and temperature all in one. This tool alone has saved me multiple harvests.
Tips for Growing Cannabis Outdoors in Different Climates
No two outdoor grows are exactly alike, especially when it comes to climate. Growing cannabis outdoors in a hot, dry region means you’ll need to stay on top of watering and protect your plants from scorching temperatures.
Using shade cloth, mulching around the base, or even setting up temporary shelters can help reduce heat stress and keep your cannabis plants thriving.
In cooler, wetter climates, drainage and airflow become your best friends. Raised beds, containers, or even small greenhouses can help keep roots dry and prevent issues like root rot. Make sure your soil drains well, and prune your plants to encourage air movement and reduce the risk of mold or mildew.
High humidity brings its own set of challenges, including increased risk of pests and fungal diseases. Here, integrated pest management (IPM) and organic solutions can help keep your outdoor cannabis plants healthy without resorting to harsh chemicals.
No matter where you’re growing, it pays to understand your local environment and adapt your techniques accordingly. Pay attention to soil type, nutrient availability, and the specific needs of your cannabis plants throughout the growing season.
With a little flexibility and the right approach, outdoor growers can overcome climate challenges and enjoy a successful, stress-free harvest.
Step 4: Germination and Transplanting Outdoor Marijuana
I prefer to start seeds indoors or in a greenhouse, but some growers use clones as an alternative to starting from seed because clones are already rooted and easier for beginners to handle. It protects delicate seedlings from pests, heavy rains, and unpredictable weather.
I transplant outdoors once they have at least 4–6 nodes and nighttime temperatures stay above 55°F.
When transplanting:
- I dig a hole twice the width of the root ball.
- Add a handful of mycorrhizal fungi powder to the hole (it creates a symbiotic relationship that boosts root growth).
- Water thoroughly after transplant.
Trimming lower leaves or branches before transplanting can help encourage healthy root development and reduce transplant shock.
I also harden off seedlings for a week by placing them outdoors for a few hours each day, gradually increasing exposure. Start by exposing young plants to direct sun in the early morning or late afternoon, avoiding harsh midday sunlight to prevent stress. It prevents transplant shock.
Step 5: Feeding and Watering Outdoor Weed Plants
Cannabis is a hungry plant, but more nutrients do not equal more yield. Overfeeding is one of the biggest mistakes beginners make — I’ve burned plenty of leaves with too much nitrogen.
My outdoor feeding schedule:
- Veg stage (June–July): Higher nitrogen, moderate phosphorus and potassium.
- Early flower (August): Reduce nitrogen, increase phosphorus and potassium.
- Late flower (September): Low nitrogen, high potassium for bud density.
I prefer organic nutrients outdoors. Products like fish hydrolysate, kelp meal, and compost teas enrich the soil and feed beneficial microbes.
Watering:Deep watering every 2–3 days works better than shallow daily watering. I also mulch heavily around the base to lock in moisture. High temperatures can increase water needs and cause plant stress, so monitor soil moisture closely during heat waves. In drought periods,
I’ve used drip irrigation with a timer — it saves huge amounts of labor. Low humidity during hot, dry spells can lead to dehydration, so more frequent watering may be necessary to keep plants healthy.
Step 6: Training and Pruning Cannabis Plants Outdoors

Cannabis outdoors will often grow into a Christmas-tree shape, which isn’t the most efficient. Training spreads light more evenly and increases yield. Proper training also helps plants start flowering at the optimal time by ensuring they receive adequate light during the growing cycle.
Techniques I use:
- Topping: Cutting the main stem early in veg forces the plant to grow multiple colas.
- Low-Stress Training (LST): Bending branches outward and tying them down. It opens up the canopy and boosts airflow.
- Supercropping: Gently crushing stems to redirect growth. High risk, but high reward if done right.
- Pruning: I remove lower branches that won’t get light and thin fan leaves to increase airflow during late veg. These practices lead to healthier plants and higher yields.
One year I didn’t prune, and powdery mildew spread fast in the dense foliage. Since then, I’ve made airflow a priority. Understanding the growing cycle is key for timing pruning and training to maximize results.
Step 7: Pests, Diseases, and Outdoor Hazards
Outdoors, you have to think like a farmer. Many farmers use small greenhouses or protective structures to safeguard their crops during vulnerable stages. Everything wants a bite of your plants.
Pests I’ve battled:
- Spider mites: Tiny, devastating. I spray with neem oil weekly as prevention.
- Caterpillars: They hide inside buds. I hand-pick daily during flowering.
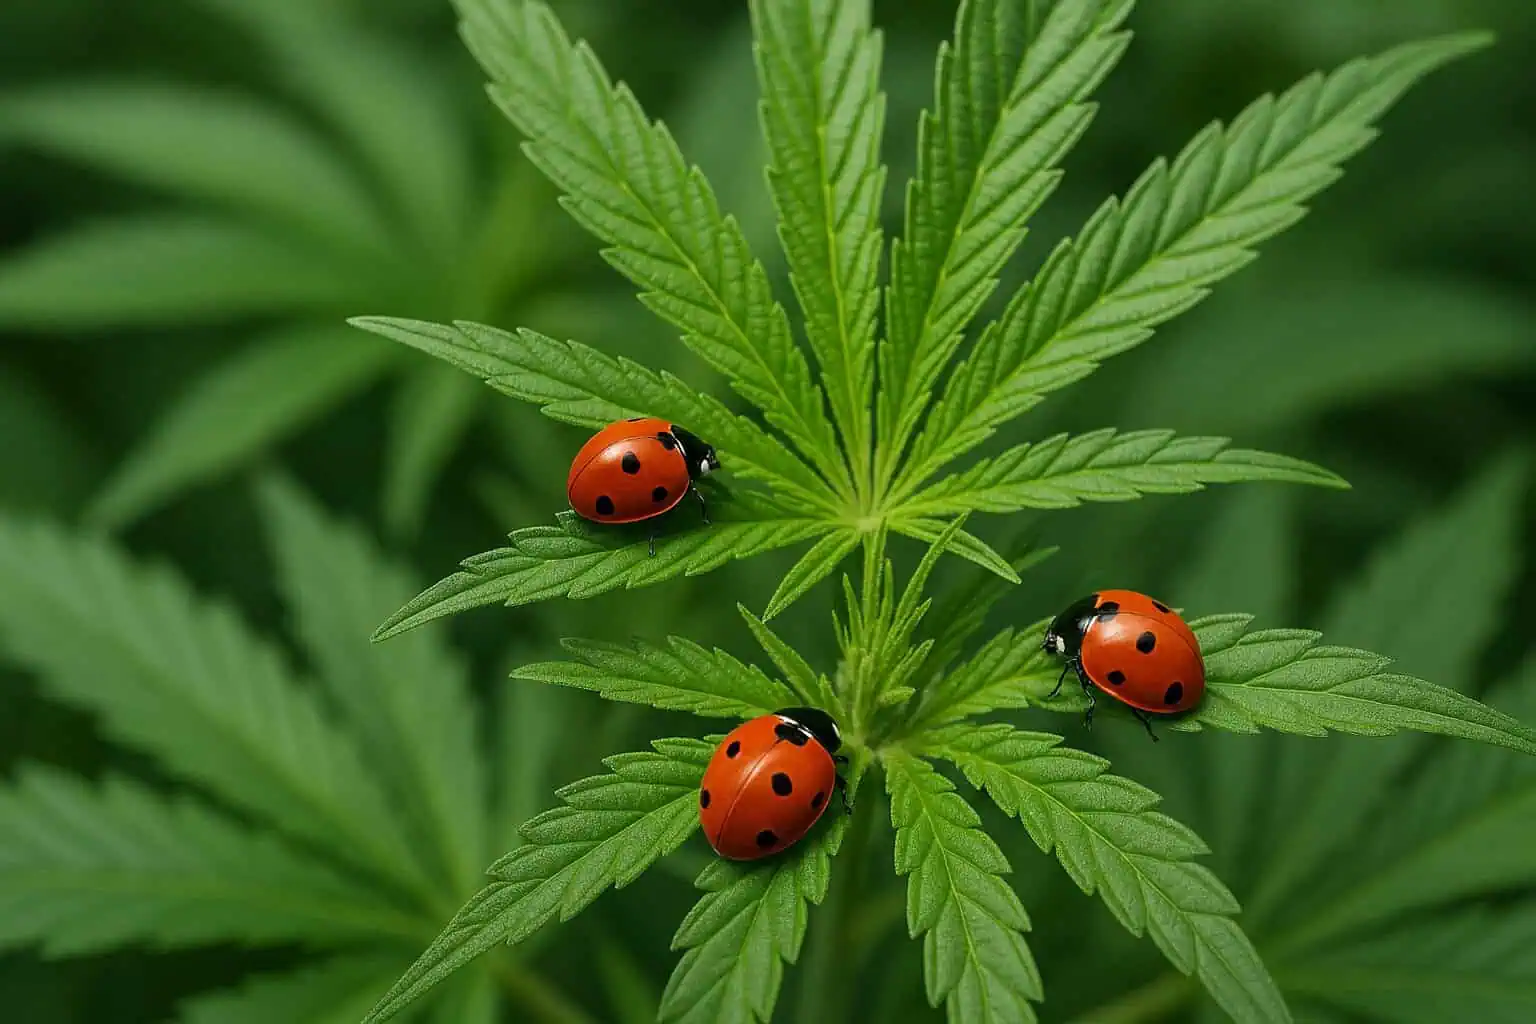
- Aphids: Clusters on stems. Ladybugs are my natural army.
Diseases:
- Powdery mildew: White spots on leaves. I use diluted milk sprays or sulfur solutions.
- Bud rot (botrytis): The grower’s nightmare. Prevention is everything: airflow, pruning, and harvesting before autumn rains. With proper precautions, you don't have to worry about most common outdoor threats.
Animals: Deer, rabbits, and even dogs have chewed my plants. Fencing is the only reliable defense.
Step 8: Harvesting Weed Outdoors
Harvest timing is both art and science. I use a jeweler’s loupe to inspect trichomes.
- Clear = not ready
- Milky = peak THC
- Amber = more sedative, body-heavy effects
Some growers apply specific fertilizers or make key preparations in mid summer to support optimal bud development before harvest.
I harvest when about 70% are milky and 20–30% amber.
Harvest in the morning, when terpene levels are highest. Use sharp, sanitized shears. Handle buds gently to avoid knocking off trichomes.
Step 9: Drying and Curing Outdoor Cannabis

Drying and curing make or break your harvest. I've ruined crops by drying too fast in hot conditions or curing in jars without burping.
Drying:
Hang branches in a dark room at 60–70°F and 50–60% humidity. Aim for 7–10 days until small stems snap.
Curing:
Trim buds and place in airtight jars. Open daily for 10 minutes to release moisture (“burping”) for the first 2 weeks. Then once a week. I always add a Boveda 62% humidity pack to stabilize conditions.
For long-term storage, I prefer CVault stainless containers. They're airtight, lightproof, and perfect for aging buds like fine wine.
Step 10: Lessons Learned From Years Of Growing Weed Outdoors
- Don't skimp on soil prep — it's the biggest return on investment.
- Plan for pests before they arrive. Prevention beats treatment.
- Know your climate and choose strains accordingly.
- Keep records. Each season, I jot down what worked, what failed, and what to adjust.
Expert Insights on Growing Cannabis Outdoors
“Growing cannabis outdoors is about working with nature, not against it. The best growers understand their local climate, adapt their methods, and let the sun do its work.” – Gavin Kushman, Strain Expert, Cannabis Training UniversityFinal Thoughts on Growing Weed Outdoors
Outdoor growing changed the way I see cannabis. It connects you to the plant in a way no indoor setup can match. You learn patience, adaptability, and respect for nature.
If you're considering your first outdoor grow, my advice is simple: start small, keep it fun, and don't expect perfection. Each season teaches you something new.
And when you finally spark up a joint of your own sun-grown harvest, you'll understand why so many growers, myself included, swear by the outdoors. Growing cannabis outdoors is a rewarding hobby that can lead to a lifelong cannabis career, a great way to save money on medicine, or a passion that is fun and gives back what you put in.
FAQ's About Growing Weed Outdoors
How tall will my plants get outdoors?
Depends on strain and training. I’ve had untrained sativas hit 12 feet. Indicas stay much shorter. With proper care, outdoor cannabis plants can grow as large as small trees.
Can I grow outdoors in pots instead of the ground?
Yes, but use at least 15–20 gallon pots. Bigger root space equals bigger yields. Growing in pots also gives you more control over water, soil, and environmental conditions.
How do I hide the smell when growing weed outdoors?
You can’t eliminate it, but companion plants like lavender and basil help mask it.
Is it worth growing autoflowers outdoors?
Absolutely. They’re smaller, faster, and stealthier. Great for shorter seasons.
How much can I yield outdoors when growing weed?
With good conditions, I’ve pulled a pound or more per plant. Beginners may see less, but the potential is huge.

Luis Cordova
Luis Cordova is a distinguished author, and renowned expert in cannabis cultivation, who possesses a Master's degree in Plant Biotechnology and Pharmaceutical Science. As a valued contributor to highly esteemed publications such as Cannabis Training University and Maximum Yield Magazine, Luis has emerged as a trusted source of guidance and knowledge in the cannabis industry. Having written thousands of informative articles, Luis is widely recognized for his comprehensive expertise on cultivating cannabis, both indoors and outdoors.


 Jeff was involved in an accident where he endured a traumatic brain injury. He had a week-long stay in ICU where brain surgeons
  100% risk free money back guarantee within 48 hours after purchase if student has not completed any of the courses or exams.