What is the best autoflower weed feeding schedule? Autoflower cannabis plants are unique. Unlike photoperiod strains, they don’t rely on light cycle changes to switch from vegetative growth to flowering. Instead, they’re hardwired to begin flowering after just a few weeks, usually between weeks 2–4.
Because autoflowers are time-dependent rather than light-dependent, their feeding schedule is critical. Overfeeding early can permanently stunt them, while underfeeding can mean low yields.
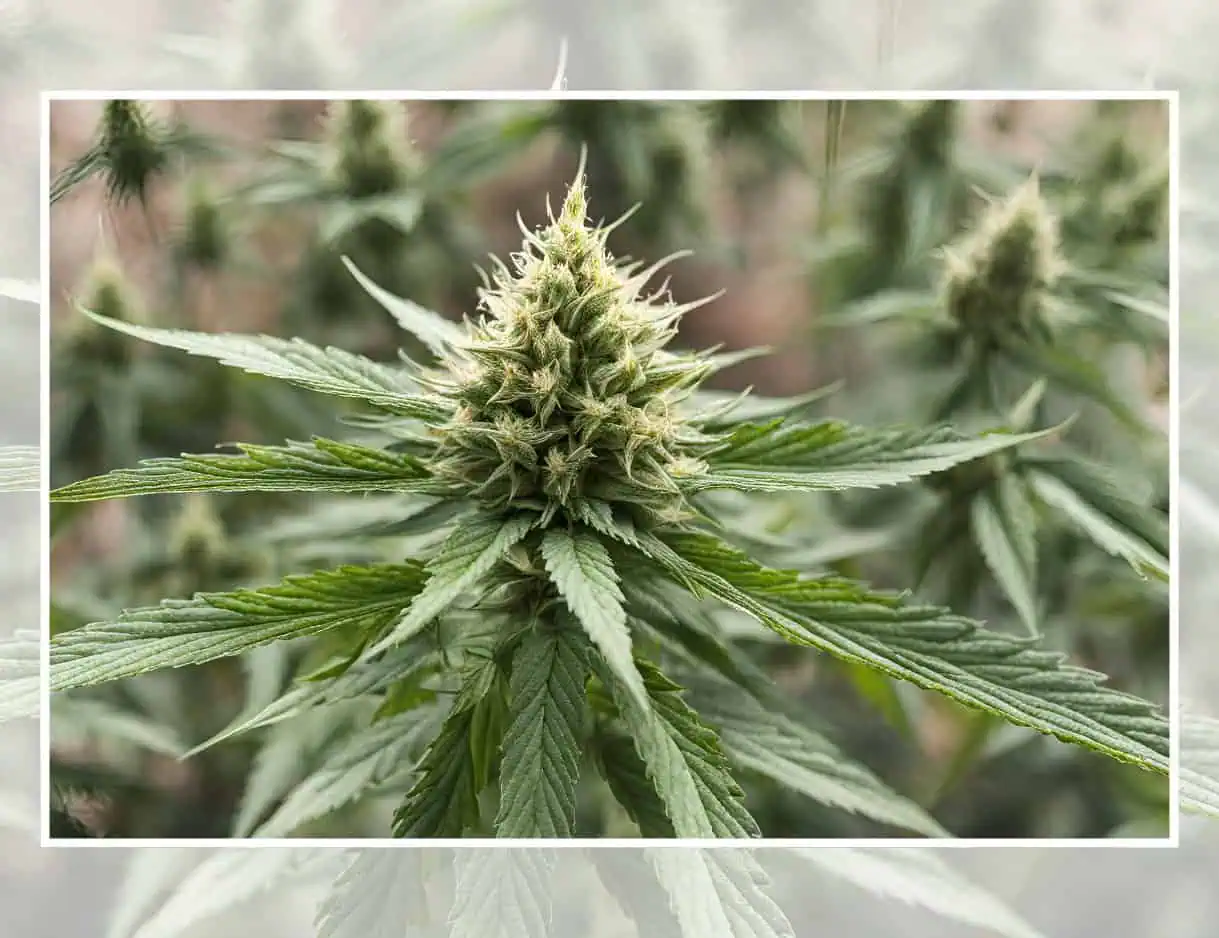
The right autoflower nutrient schedule balances speed, root health, and bud development so you can harvest dense, resinous flowers in 8–12 weeks.
This complete guide will provide:
- A soil/coco feeding chart
- A detailed hydroponic autoflower feeding schedule
- Nutrient tips for each stage
- Equipment recommendations
- Grower reviews and FAQs
Autoflowering Weed Feeding Schedule: Nutrition Basics

Introduction to Autoflowering Cannabis Plants
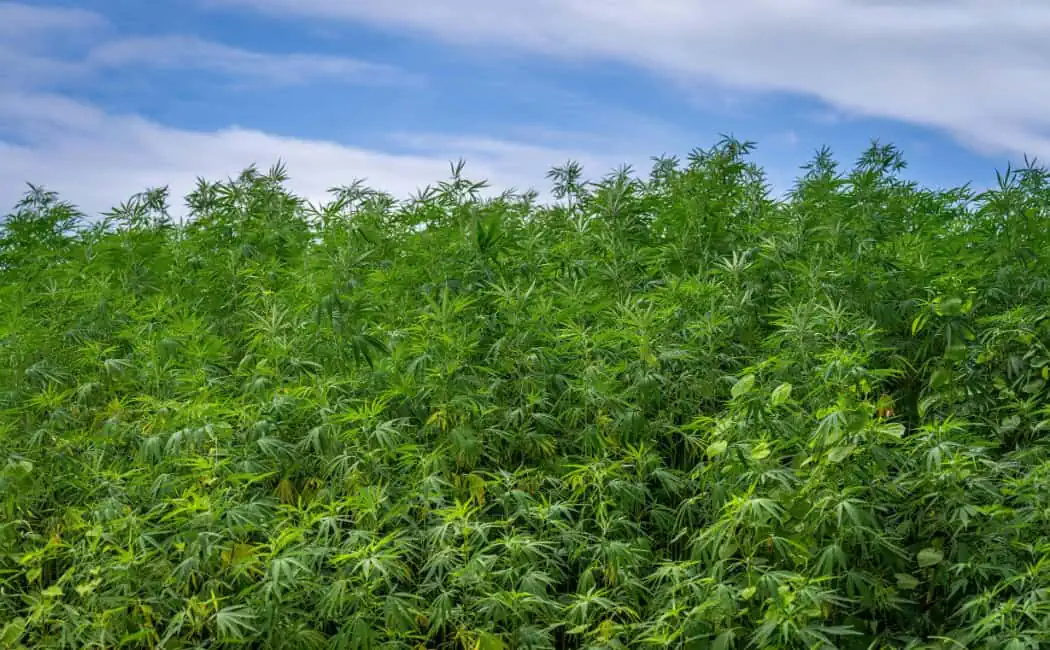
Autoflowering cannabis plants have changed the game for growers looking for speed, simplicity, and reliable results. Unlike photoperiod plants, which rely on changes in light cycles to trigger flowering, autoflowering cannabis plants begin their flowering stage automatically after a short period of vegetative growth—no matter how much light they receive.
This unique trait comes from their genetic makeup, allowing for fast growth cycles and making them a favorite among both new and experienced cultivators.
Because autoflowering cannabis plants don’t depend on light schedules, you can grow them almost anywhere, indoors or out, and harvest multiple times per season.
They’re also known for their resilience, thriving in a variety of conditions and showing strong resistance to pests and mold. These plants tend to stay smaller and require fewer nutrients than their photoperiod counterparts, making them ideal for discreet grows or limited spaces.
Understanding the growth patterns and nutritional needs of autoflowering cannabis is essential for creating an effective nutrient schedule. By tailoring your feeding plan to their rapid life cycle, you’ll set your plants up for healthy growth and maximize your harvest.
Key Differences from Photoperiods
- Short Veg Stage: Autoflowers often veg for 14–21 days.
- Smaller Plants: Generally shorter, less hungry than photoperiods.
- Set Life Cycle: Autoflowers have a shorter life cycle, so feeding schedules and nutrient management are especially important, as there is no chance to “restart” veg if nutrition is delayed.
Nutrient needs and feeding schedules may vary depending on the specific strain and environmental conditions.
Macronutrients
- Nitrogen (N): Essential early but must be reduced in flower.
- Phosphorus (P): Drives bud formation.
- Potassium (K): Supports flower density and plant health.
Adjusting the NPK ratio during different growth stages is crucial for optimal plant development and yield. Some growers use inorganic nutrients to precisely control NPK ratios and nutrient delivery throughout the plant's life cycle.
Micronutrients
Calcium, magnesium, sulfur, iron, zinc, boron, manganese — especially critical in hydro systems. During the seedling stage, it is best to use specially diluted starter nutrients or minimal nutrients to avoid overwhelming young plants.
Bottled Nutrients
Bottled nutrients are a go-to solution for many cannabis growers, offering a straightforward way to deliver all the nutrients your plants need for healthy growth. These liquid or powdered formulas are easy to measure and mix, making it simple to stick to a consistent feeding schedule.
When growing autoflowering cannabis plants, it’s important to remember that they require less food than photoperiod plants—so always start with a lower dose than the bottle recommends to avoid nutrient burn.
Look for bottled nutrients specifically formulated for autoflowering plants, as these blends are designed to support their unique growth and nutrient absorption patterns. Brands like ILGM and Biobizz offer nutrient lines that cater to the needs of autoflowering cannabis, helping you achieve strong vegetative growth and robust bud development.
If you prefer a more natural approach, consider using organic amendments alongside bottled nutrients for a balanced feeding plan.
No matter which brand you choose, always monitor your plants’ response and adjust your nutrient mix as needed. With the right bottled nutrients and careful attention, your autoflowering cannabis will thrive from seedling to harvest.
Organic vs Synthetic Nutrients For Growing Cannabis
Choosing between organic and synthetic nutrients is a big decision for any cannabis grower. Organic nutrients, made from natural sources like compost, worm castings, and bone meal, are prized for enhancing soil life and boosting overall plant health.
They encourage beneficial microbes, improve soil structure, and often lead to richer flavors and aromas in your buds. Many growers who value sustainability and taste prefer organic methods for their autoflowering plants.
On the other hand, synthetic nutrients are engineered for precision. These mineral-based formulas allow you to control exactly how much of each nutrient your plants receive, making it easier to fine-tune your feeding schedule and quickly correct any nutrient deficiencies. Synthetic nutrients are especially popular in hydroponic systems, where soil biology isn’t a factor.
Many growers find success by combining both approaches—using organic amendments to build healthy soil and supplementing with synthetic nutrients during key growth phases.
When deciding what’s best for your autoflowering plants, consider your growing medium, your goals for yield and quality, and how much control you want over your feeding schedule. Whichever path you choose, providing all the nutrients your plants need is the key to vigorous growth and top-shelf buds.
Epsom Salt Benefits For Growing Weed
Epsom salt, also known as magnesium sulfate, is a simple yet powerful tool for keeping your autoflowering cannabis plants healthy. Magnesium is a vital nutrient for chlorophyll production, which drives photosynthesis and helps your plants turn light into energy.
Sulfur, the other component of Epsom salt, supports enzyme function and overall plant health. Together, they play a crucial role in nutrient uptake and strong, steady growth.
Adding Epsom salt to your nutrient solution can help prevent common nutrient deficiencies, especially magnesium deficiency—a frequent issue in fast-growing autoflowering cannabis plants. Signs of magnesium deficiency include yellowing leaves and stunted growth, which can quickly impact your yield if left unchecked.
To avoid this, many growers add about one tablespoon of Epsom salt per gallon of water to their feeding schedule, especially during the vegetative and early flowering stages.
Be careful not to overdo it, as too much Epsom salt can cause nutrient lockout and disrupt the balance of your nutrient mix. Always monitor your plants for signs of improvement or stress, and adjust your dosage as needed.
By incorporating Epsom salt into your autoflower nutrient schedule, you’ll support healthy growth, boost chlorophyll production, and help your cannabis plants reach their full potential.
Autoflower Weed Feeding Schedule for Soil/Coco
This is a baseline feeding schedule for autoflowers. Following an autoflower feeding schedule is key for success. Always adjust based on strain, nutrient line, and plant feedback.
Week | Stage | Nutrients (per liter) | Notes |
|---|---|---|---|
1 | Seedling | pH’d water only, optional ¼ Cal-Mag | During the seedling stage (seedling phase), autoflower seeds and autoflowering seeds require only pH balanced water or just water. Use minimal or specially diluted nutrients only if the soil does not have enough nutrients. Avoid overwatering. |
2 | Early Veg | ¼ Grow + Cal-Mag | First true leaves require N |
3 | Veg | ½ Grow + Cal-Mag | Strong root/leaf growth |
4 | Transition | ¾ Grow, ¼ Bloom | Begin reducing N |
5–7 | Flower | Full Bloom, Cal-Mag | Focus on P & K |
8–9 | Late Flower | Bloom + PK booster | Zero N, bulk buds |
10–11 | Flush | pH’d water only | 7–10 days before harvest |
Tips:
- Use 50–75% of bottle recommendations — autos burn easily.
- In coco, feed every day lightly. In soil, alternate feedings with plain water.
- Know when to start feeding and start feeding autoflowers, typically after the seedling stage. Feeding every other watering (other watering) helps prevent nutrient buildup.

Autoflower Weed Feeding Schedule for Hydro
Hydroponics accelerates autoflower growth. Roots take up nutrients faster, so precision matters. Hydroponic systems enhance water uptake and root development, which is crucial for the plant's overall health and vigor. Below is a hydro feeding chart for DWC, NFT, or coco hydro.
Week | Stage | EC | pH | Nutrients |
|---|---|---|---|---|
1 | Seedling | 0.4–0.6 | 5.8–6.0 | Root stimulator, ¼ Cal-Mag |
2 | Early Veg | 0.6–0.8 | 5.8–6.0 | ¼–½ Grow nutrients |
3 | Veg | 0.8–1.0 | 5.8–6.1 | Full veg base + beneficial microbes (Use the best nutrients to support the plant's vegetative phase and vegetative stage, promoting strong root and stem development.) |
4 | Transition | 1.0–1.2 | 5.8–6.2 | Mix: reduce N, add Bloom |
5–7 | Flower | 1.2–1.5 | 5.8–6.2 | Bloom nutrients + Cal-Mag + silica |
8–9 | Late Flower | 1.5–1.7 | 5.8–6.3 | Bloom + PK booster |
10–11 | Flush | 0.4–0.6 | 5.8–6.3 | pH’d water only |
Hydro-Specific Advice
- Change reservoir every 7 days.
- Keep water temps 65–68°F.
- Add beneficial bacteria or enzymes to prevent root rot.
- Monitor EC and pH daily — maintaining proper pH levels and adjusting NPK ratios as needed is crucial for optimal nutrient absorption and to prevent nutrient lockout in hydro.
- Use air stones for oxygenation.
Reviews: Grower Experiences With Autoflower Feeding
“In hydro, my autos exploded. By week 3, pre-flowers showed and by week 10 I had sticky, dense buds. Feeding daily at low EC made a huge difference and was key to a successful grow with proper feeding.”
“I burned my first autoflowers running nutrients at full strength. Cutting back to 60% gave me better color, growth, and yield, and my autoflowering cannabis plant responded much better to the adjusted nutrient schedule.”
“Coco is forgiving, but hydro is next level. I harvested 5 oz from one plant in a 2×2 tent using a simple DWC bucket with proper feeding. My autoflower plant and other plants grow differently in coco versus hydro, with noticeable differences in root vigor and nutrient uptake.”
Common Autoflower Feeding Mistakes
- Too Much Nitrogen in Flower → Dark clawed leaves, airy buds.
- Feeding Too Late → Autos need nutrients early. Waiting until week 3+ stunts them permanently.
- Skipping Cal-Mag → Critical in coco and hydro.
- Not Flushing → Leads to harsh smoke, chemical taste.
- Yellowing Leaf Tips → Yellowing leaf tips can signal nutrient burn from overfeeding or a nutrient deficiency. Monitor for these symptoms to avoid nutrient imbalance and stress.
Equipment Checklist
- pH Meter & calibration kit
- EC/TDS Meter
- Fabric Pots (soil/coco) or DWC bucket system (hydro)
- LED Grow Light (200–600W full spectrum)
- Nutrient Line (Grow, Bloom, Cal-Mag, PK booster)
- Air Stones & Pumps (for hydro)
- Carbon Filter & Fan (odor + airflow)
- Timers (for lights/pumps)
- Hygrometer (humidity/temperature monitor)
How to Feed Autoflowers in Hydroponics
Feeding autoflowers in hydroponics is all about precision and consistency. Paying close attention to your hydro feeding schedule can make all the difference in plant health and yield. Unlike soil, which buffers nutrients, hydro systems deliver nutrients directly to roots — which means autos grow faster but are more sensitive to imbalances.
- Start Light: Begin with ¼ strength nutrients during seedling week.
- Gradually Increase: Raise EC each week, staying within 0.6–1.7 mS/cm across the cycle.
- Daily Monitoring: Check pH (5.8–6.2) and EC every day — small changes can cause lockout.
- Oxygenation: Use air stones or pumps to keep dissolved oxygen high, preventing root rot.
- Balanced Formula: Use a full-spectrum nutrient line (Grow + Bloom + Cal-Mag).
*In hydro, feed every day, but at lighter doses. This approach prevents deficiency while avoiding the “too much too fast” mistakes that burn auto flowers.
Some growers choose to water with only water during the final ripening phase, a practice known as flushing, to improve flavor and purity before harvest.
Autoflower Weed Nutrient Burn Solutions
Nutrient burn happens when autoflowers receive too many nutrients, usually nitrogen in early veg or phosphorus/potassium boosters in flower. Symptoms include:
- Dark green, clawed leaves
- Burnt, brown tips
- Shiny or curling leaf edges
Solutions:
- Flush Immediately with pH’d water (soil) or a light nutrient solution (hydro).
- Reduce Feeding Strength to 50–75% of what the bottle suggests. Autoflowers rarely need full doses.
- Check EC/PPM with a meter — bring it back down into safe ranges (0.6–1.2 in veg, 1.2–1.7 in flower).
- Monitor New Growth — if new leaves look healthy, the plant has recovered.
*Remember: it’s better to slightly underfeed than overfeed autos, because you can always add more later — but you can’t take it back once damage is done.
Soil vs Hydro Autoflower Feeding
Both soil and hydro can produce excellent autoflower yields, but feeding differs:
Factor | Soil | Hydro |
|---|---|---|
Feeding Frequency | Every 2–3 days, alternate with plain water | Daily or continuous in recirculating systems |
Nutrient Strength | Soil buffers — use 50–75% of recommended dose | Hydro is direct — use lighter doses, monitor EC closely |
pH Range | 6.0–6.5 | 5.8–6.2 |
Forgiveness | More forgiving (nutrients stay in soil) | Less forgiving (errors show within hours) |
Ease for Beginners | Easier | More advanced but higher yields |
*If you’re new, soil or coco is more forgiving. If you want maximum speed and yield, hydro wins — but it requires more attention to feeding precision.
Cal-Mag for Autoflowers
Calcium and magnesium deficiencies are common in autoflowers, especially in coco and hydro grows. Autoflowers grow so quickly that they deplete these secondary nutrients faster than photoperiods.
Signs of Cal-Mag deficiency:
- Brown spots on leaves
- Interveinal yellowing (veins stay green, leaf tissue yellows)
- Weak stems or brittle growth
When to Add Cal-Mag:
- Week 1 onward in coco and hydro (¼ dose).
- Every 2–3 feedings in soil.
- Throughout flowering, especially after week 4, when demand spikes.
*For autoflowers, Cal-Mag is not optional — it’s a core supplement. Without it, you risk stunted growth and weak bud development.
How to Flush Autoflower Plants
Flushing removes excess salts and nutrients, producing smoother, cleaner-tasting bud. Autoflowers, with their quick life cycle, respond well to a 7–10 day flush.
When to Flush:
- 7–10 days before harvest, when trichomes are cloudy and pistils are mostly orange.
How to Flush in Soil:
- Water with pH’d plain water until runoff is 20–30%.
- Repeat every watering until harvest.
How to Flush in Hydro:
- Replace reservoir with clean, pH’d water.
- Optional: Add a flushing agent to help dissolve salts.
- Run for 5–7 days before harvest.
Benefits of Flushing:
- Better taste and aroma.
- Smooth smoke without chemical harshness.
- Prevents nutrient residue in cured buds.
*Skipping the flush is one of the most common beginner mistakes. If you’ve ever had harsh, bitter smoke, chances are the plant wasn’t flushed properly.
FAQs on Autoflower Weed Feeding Schedule
Do hydro autoflowers yield more than soil?
Yes, hydro grows faster and can yield up to 20–30% more, but requires more precision.
Can I use organic nutrients in hydro?
Not recommended. Organics clog systems. Use mineral-based nutrients for hydro.
How often should I feed in hydro?
Every day, since roots rely solely on nutrient solution. Keep EC lower than in soil.
Do autoflowers need a flush?
Yes. Always flush hydro and soil grows for smoother smoke.
What’s the best light cycle for hydro autos?
18/6 or 20/4. Autos don’t require 12/12 to flower.
Is there a good Autoflower Facebook Group?
Yes! The Autoflower Growers Support Facebook Group has over 120,000 members and includes daily grow tips from experienced Autoflower growers.
Final Thoughts on Autoflower Weed Feeding Schedule
Autoflowers reward patience, precision, and consistency. The best autoflower weed feeding schedule uses lighter, steady doses of nutrients, reduces nitrogen quickly after veg, and emphasizes bloom boosters in mid-to-late flower.
- Soil & Coco: Feed at 50–75% strength, alternate with plain water.
- Hydroponics: Feed daily, monitor EC/pH closely, keep roots healthy with oxygen and enzymes.
With the right schedule, equipment, and adjustments, you’ll unlock big yields, potent buds, and top-shelf flavor from auto flower strains — whether in soil or hydro.
Learn the Art of Cannabis Cultivation
Cannabis Training University’s online learning platform provides new and seasoned growers with a complete curriculum covering every major aspect of the industry.
Learn everything you wanted to know about starting your first garden and optimizing your set-up for bigger and better yields.
Beyond our cannabis cultivation training, we offer programs on cannabis cooking, cannabis extraction, cannabis laws, cannabis medicine, and so much more!

Luis Cordova
Luis Cordova is a distinguished author, and renowned expert in cannabis cultivation, who possesses a Master's degree in Plant Biotechnology and Pharmaceutical Science. As a valued contributor to highly esteemed publications such as Cannabis Training University and Maximum Yield Magazine, Luis has emerged as a trusted source of guidance and knowledge in the cannabis industry. Having written thousands of informative articles, Luis is widely recognized for his comprehensive expertise on cultivating cannabis, both indoors and outdoors.


 Jeff was involved in an accident where he endured a traumatic brain injury. He had a week-long stay in ICU where brain surgeons
  100% risk free money back guarantee within 48 hours after purchase if student has not completed any of the courses or exams.